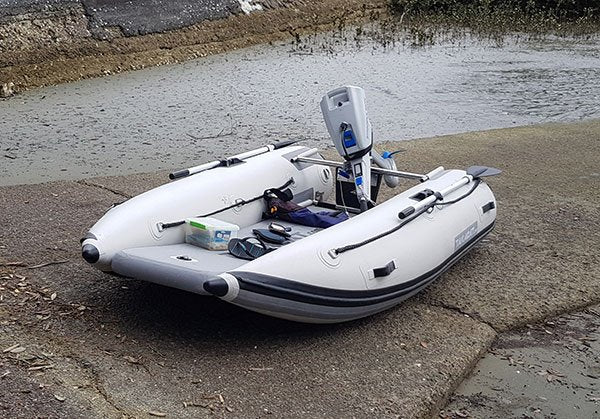
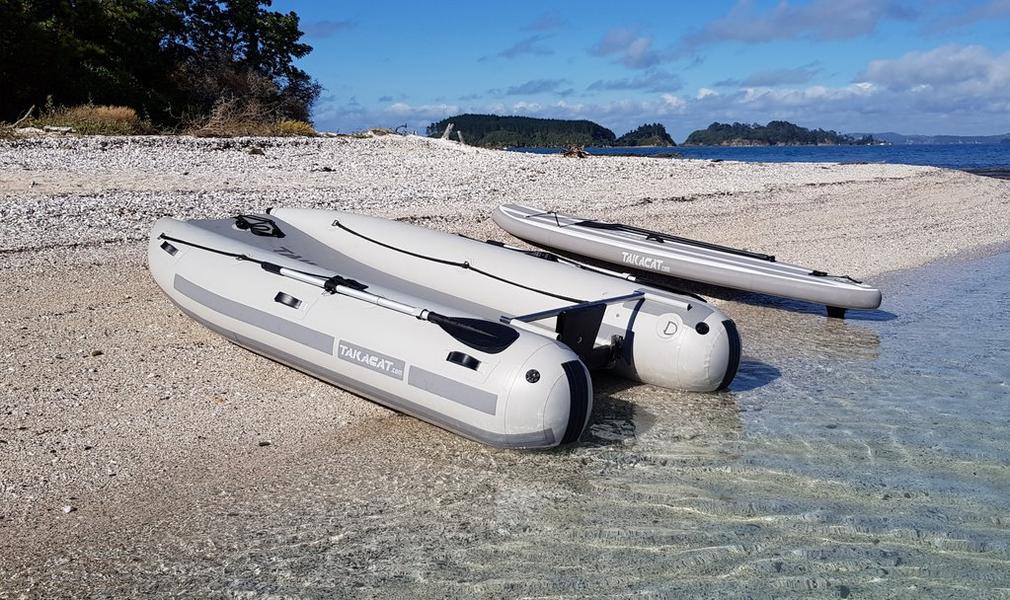
No matter what you'll be using your new Takacat for, we want to ensure you get out on the water as soon as possible and do it safely.
Below is an easy-to-follow set-up guide for the Takacat Lite X, as well as two video tutorials.
If you'd like to download the Takacat Owner's Manual, click here.
Tools You'll Need:
- An air pump with a standard Halkey-Roberts valve. A hand pump is included with your Takacat.
- A small container of soapy water (optional)
- Deflated Takacat Lite X and its parts
Instructions for Setting Up Your Takacat Lite X
1) Unfold and lay out the boat hull tubes.

2) Locate the inflator valve at the rear of the hulls and inflate to 3 psi with the included hand pump or optional electric pump.

3) From the rear, insert the lower transom bar into the lower set of tubes on the boat hulls.
- Lubricate the tube beforehand with soapy water as this will make sliding the transom bars into place much easier. If you don't have soap handy, spit or just plain water will work in a pinch.
- The stainless tab should be facing up when it's installed properly.
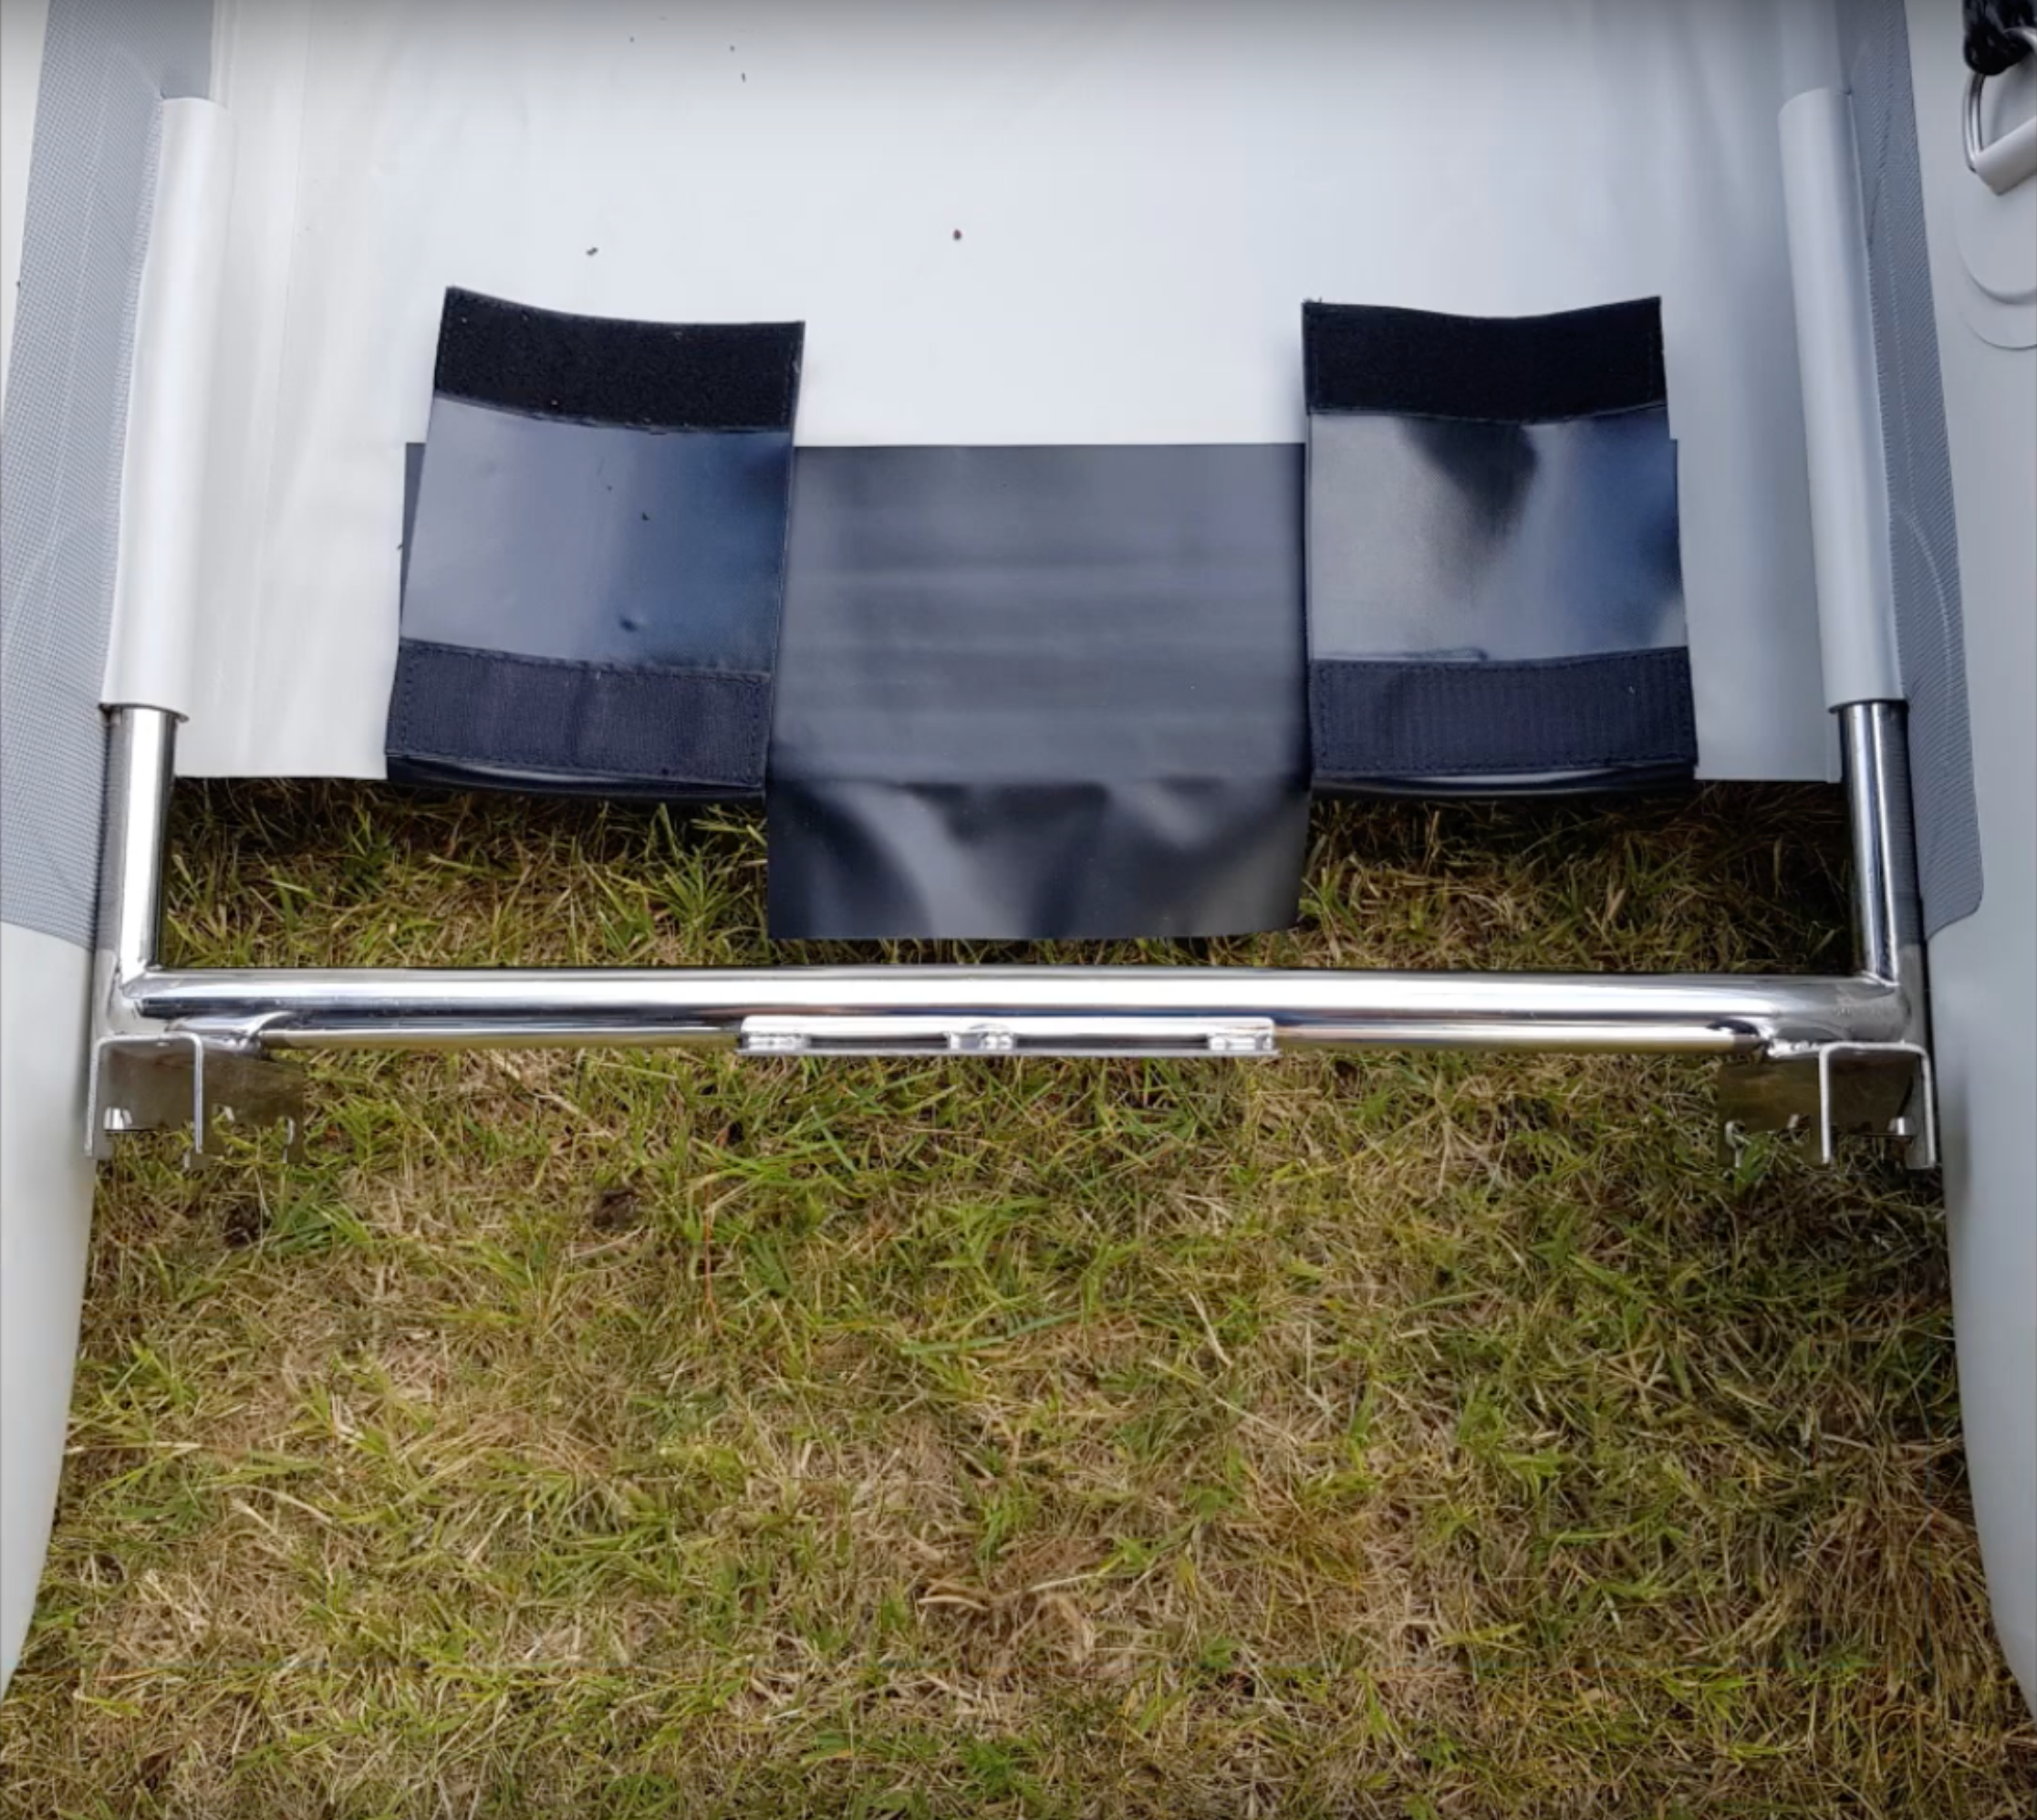
5) Attach black velcro straps around the tube transom. (THIS STEP NO LONGER NECESSARY ON 2021 & NEWER TAKACAT BOATS)
- The black flaps should go over the lower bar and velcro back to itself.

6) From the front, insert the upper transom bar into the upper set of tubes on the boat hulls.
- Like with the lower transom, lubricate the tubes with a bit of soapy water.
- The stainless tab should be facing down when it's installed properly.

7) Slot the smaller motor mount board inside the tube transom.

8) Creating a sandwich, assemble the rest of the transom.
- The bolt passes from the rear to the front with the rubber washer between the wooden motor mount boards.
- Proper sandwich order below:
Bolt | SS Washer | Back Board | Rubber Washer | Front Board | SS Washer | Hand Nut - The nut should be hand-tightened only.
Special note: Omitting the rubber spacer could cause catastrophic failure of the outboard bracket potentially causing an unwanted outboard donation to Davy Jones' Locker.

9) Unfold and place the air deck floor between tubes.
- There is no need to get it perfectly under each hull tube, but the rear of the floor should be flush with the lower transom bar.

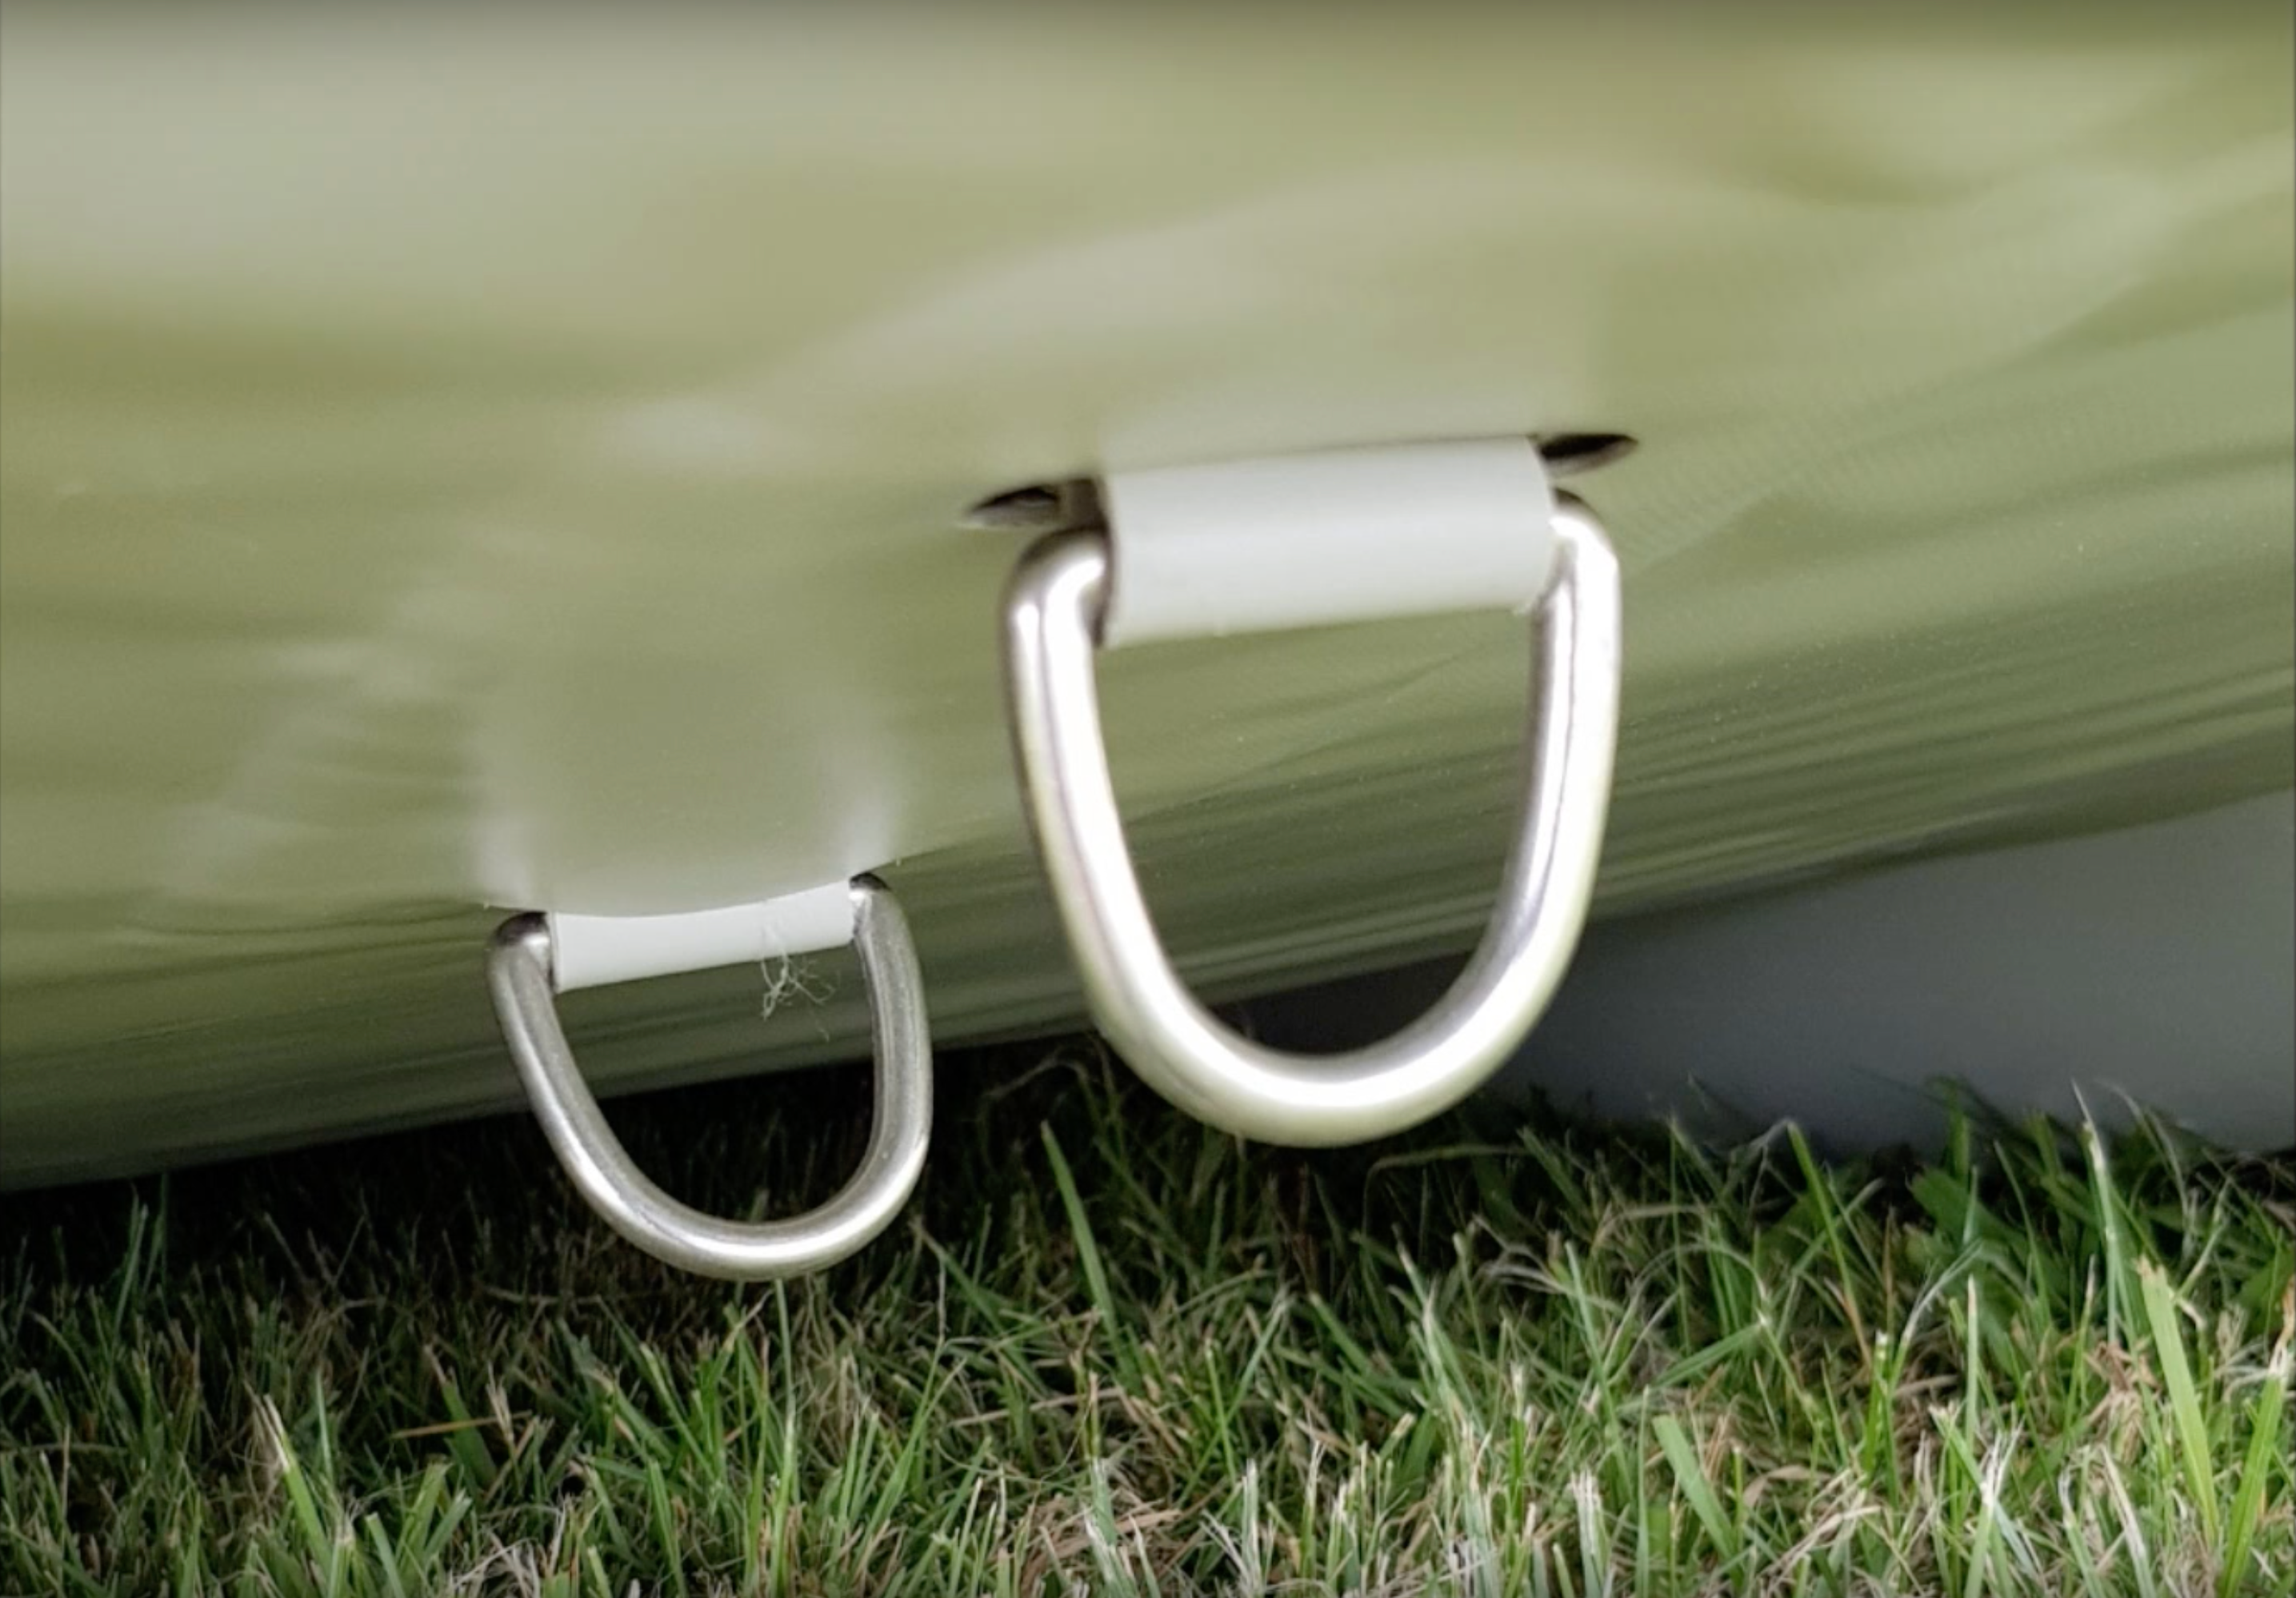
10) Insert D-Rings, on the bottom of the air deck floor, through the slots in the
boat floor fabric layer.
11) Install the bow support straps.

12) Inflate the air deck floor to 10psi / 65kpa (electric pump) via its bow located Halkey-Roberts valve.
- While inflating be sure to pause and walk on the floor to push
it into place. - Don't forget to activate the check valve by pressing down on the center pin and turning it a 1/4-turn in either direction.
- If it is popped up, it won't let any air escape.

13) Inflate the float seat.
- The seat can be inflated to a pressure that is most comfortable.
- The seat is designed for comfortable rowing, and can also be used as a throwable flotation device.

14) Assemble each oar and install.
- Be sure to attach retaining nut to prevent losing oars when in use.

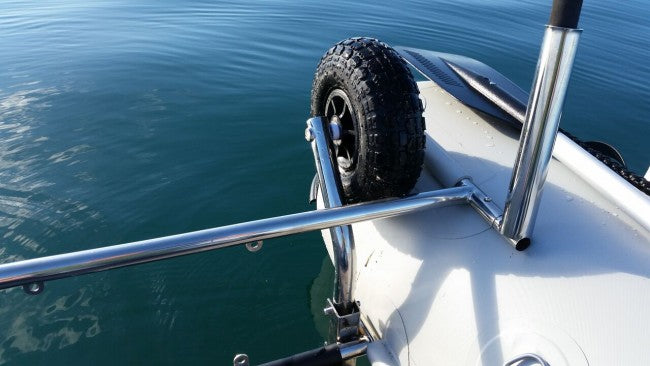
15) If you opted for the Quick Release Beach Wheels, install them now in the down position.
- When in the down position, the wheels provide enough height to mount a 15" short shaft outboard in the upright position.
- Wheels are side specific, make sure to mount them with tires facing inward
when in the down position to prevent friction damage to the boat hulls.

16) If you opted for the Quick Release Rod Holders, install them now into the upper transom bar.
17) Fit outboard motor, if applicable.
18) After launching your boat into the water, check the pressure in the hulls to verify you still have 3 psi hull air pressure.
- If the water is cooler than the surrounding air temperature the air inside the hulls will condense causing a pressure drop.
- Use the manual pump to re-inflate to 3 psi hull air pressure.
19) Enjoy your new Takacat and leave a review on Red Beard Sailing's website to let us know how you're enjoying your new boat!
When you are finished using your Takacat and are ready to put it away, check out our Pack Away Instructions.
